A COB LED display may look uniform during individual cabinet testing but show visible brightness differences after several cabinets are assembled into one large screen.
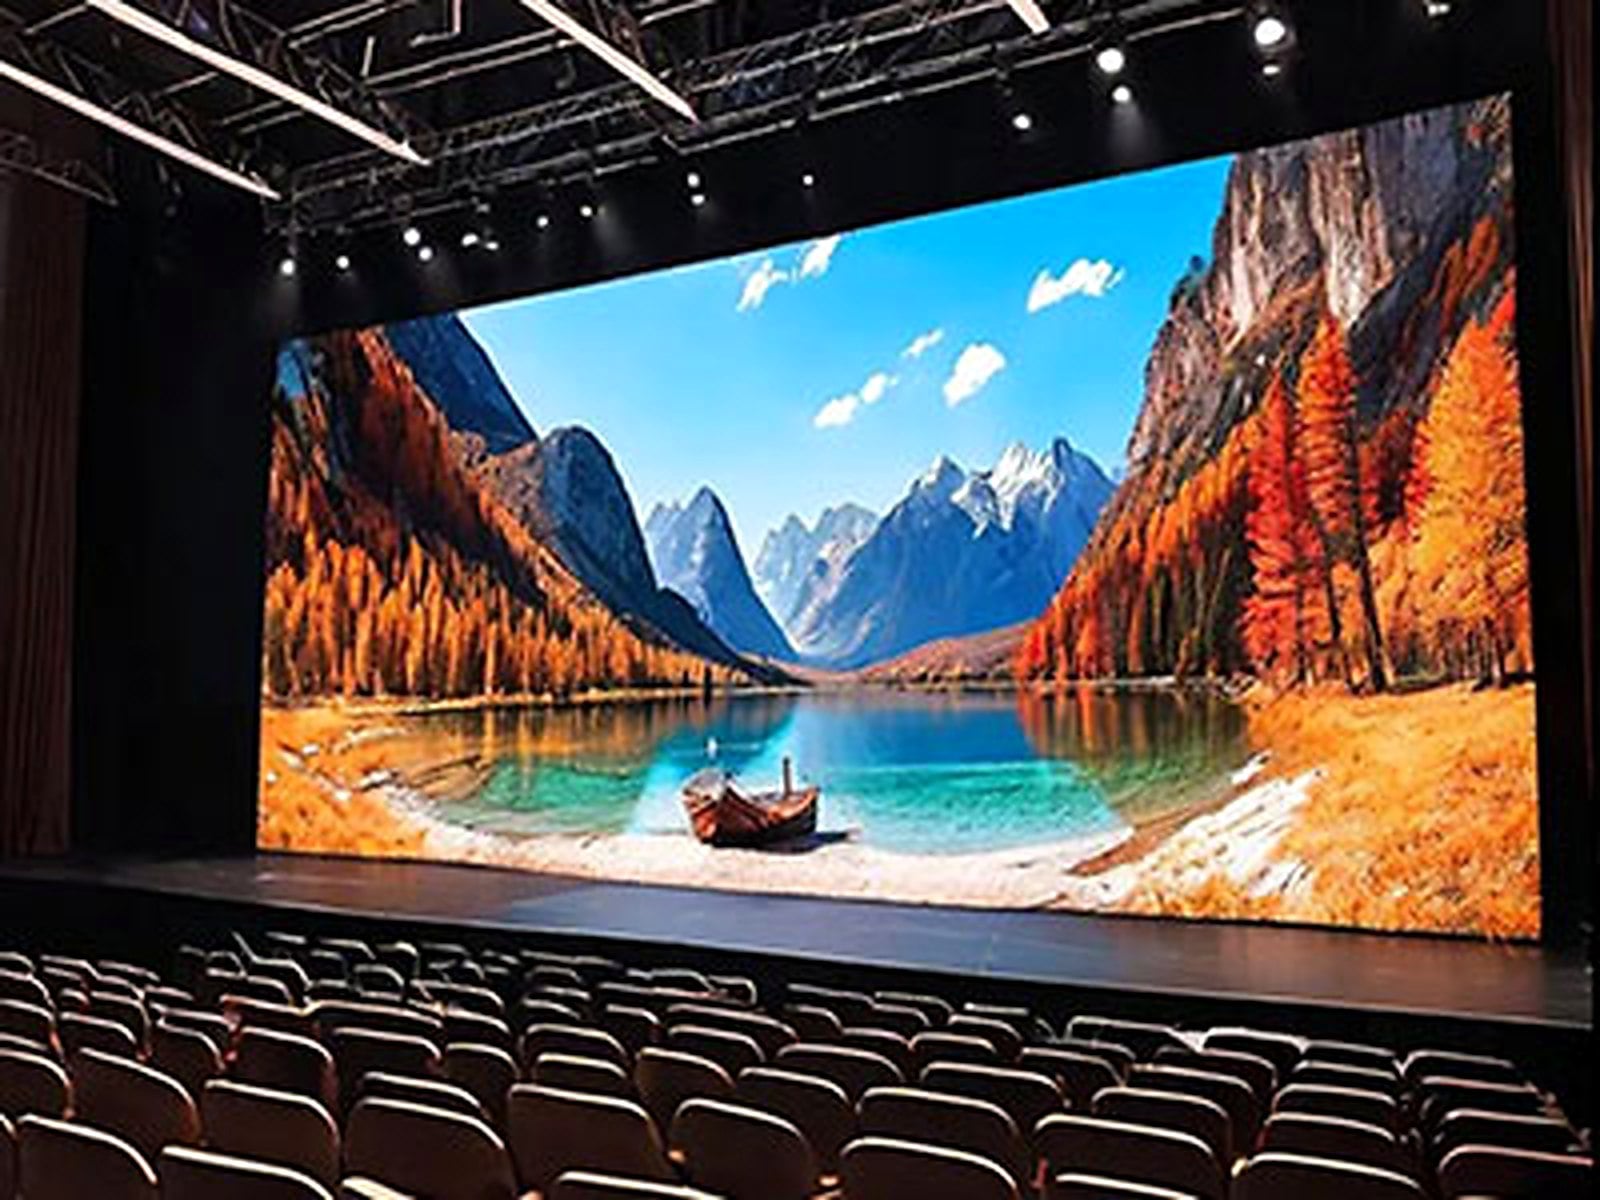
Some areas may appear brighter, while others look slightly darker. In certain cases, the difference is most noticeable when the screen displays a white background, light-colored graphics, or presentation slides.
This issue is particularly important for live events, conferences, exhibitions, and indoor stages. Audiences usually view the entire display at once, so even small differences between neighboring cabinets can affect the overall picture.
Brightness matching should therefore be completed before the event starts, not after the audience enters the venue.
Uneven brightness can make a large LED wall look like several separate screens instead of one continuous display.
For event organizers, this can create several problems:
Visible cabinet boundaries: Brighter or darker areas make the cabinet layout easier to notice.
Poor presentation quality: White backgrounds and corporate graphics may look inconsistent.
Camera problems: Brightness differences can become more noticeable in recorded videos and live broadcasts.
Time pressure: Finding and correcting problems during an event can delay the production schedule.
For rental companies, these issues can also affect customer satisfaction and future project opportunities.
Several factors can affect cabinet-to-cabinet brightness consistency.
Different LED output characteristics
LED chips may have small differences in their light output. If cabinets are produced in different batches, their brightness characteristics may not be identical.
Different calibration settings
Each cabinet may have different calibration coefficients. Incorrectly loaded calibration files can create visible brightness differences even when the hardware is working normally.
Temperature differences
LED output can change as operating temperature changes. Cabinets with different ventilation conditions may not maintain exactly the same brightness during long operating periods.
Control system settings
Different brightness limits, grayscale settings, gamma values, or signal configurations can also affect the final image.
A practical matching process should start with the complete assembled display.
Step 1: Assemble all cabinets
Install the cabinets according to their final event positions. Check the mechanical connections and confirm that the screen is flat and properly aligned.
Step 2: Allow the display to stabilize
Turn on the complete screen and allow it to operate under normal conditions for approximately 30–60 minutes before taking measurements. The actual stabilization period should follow the equipment manufacturer's recommendations.
Step 3: Set one brightness target
Confirm the required operating brightness with the event organizer. All cabinets should use the same approved target rather than being adjusted individually by eye.
Step 4: Measure different positions
Use a calibrated luminance meter to measure the screen from a fixed viewing position.
Check the center of each cabinet and important areas near cabinet boundaries. Record the readings and compare neighboring cabinets.
Step 5: Correct the differences
If one cabinet is noticeably brighter or darker, check its calibration data, receiving card settings, and hardware condition.
Use the appropriate calibration software to correct the difference. Avoid simply reducing the brightness of the entire screen to hide one abnormal cabinet.
A single white test image is not enough to confirm brightness matching.
A more complete inspection should include several patterns:
| Test Pattern | What to Check |
|---|---|
| Full white | Overall brightness differences |
| 50% gray | Mid-level luminance consistency |
| Red, green, blue | Individual color channel differences |
| Grayscale gradient | Smooth brightness transitions |
| Actual event content | Real viewing performance |
For quantitative inspection, record luminance readings under identical test conditions.
A useful calculation is:
Brightness uniformity = (Minimum measured luminance / Maximum measured luminance) × 100%
For example, if the highest reading is 600 nits and the lowest is 570 nits, the calculated uniformity is 95%.
This is an illustrative calculation, not a universal acceptance standard. The final tolerance should be agreed upon in the project specification.
Also, keep the camera position, exposure, content, and controller settings unchanged when comparing before-and-after results.
Brightness consistency depends on the complete display system, not just the COB LED modules.
Important components include:
COB LED modules: Consistent LED output and reliable module quality.
Receiving cards: Correct calibration data and signal processing.
LED controller: Unified brightness, grayscale, and color settings.
Power supplies: Stable voltage under normal operating loads.
Cabinet structure: Accurate assembly and reliable connections.
For rental applications, compatible spare modules and cabinets should also be prepared. Replacement parts should be checked against the original screen before the event.
Consider an indoor corporate event using a large COB LED video wall.
During the first assembly, technicians notice that several cabinets appear slightly brighter than the surrounding areas when displaying a white presentation background.
Instead of adjusting the entire screen, the team records the cabinet positions and measures their luminance.
After checking the calibration files and receiving card settings, the technicians identify the cabinets that require correction.
They then repeat the white, gray, and RGB tests before playing the actual presentation content.
The complete display is checked again under the venue's lighting conditions.
By completing these checks before the event, the installation team can reduce the risk of visible brightness differences during the presentation.
Q1: Why do COB LED cabinets have different brightness levels?
Possible reasons include LED output variation, calibration differences, temperature changes, and inconsistent controller settings.
Q2: Can software calibration solve brightness differences?
Yes. Calibration can correct many brightness variations, provided the hardware is functioning properly and the calibration system supports the required adjustments.
Q3: How long should a COB LED display be tested before an event?
Allow sufficient operating time for the display to stabilize, then complete brightness, grayscale, RGB, and actual-content checks. Follow the manufacturer's testing recommendations.
Q4: Should spare COB modules be calibrated before an event?
Yes. Spare modules should be checked and matched with the main display to reduce visible differences during emergency replacement.
Q5: Is brightness uniformity the same as color uniformity?
No. Brightness uniformity measures differences in light output, while color uniformity evaluates differences in color appearance. Both should be checked before final acceptance.
At AILED Display, we understand that a professional LED display project requires more than achieving the correct pixel pitch and brightness specification.
For COB LED display applications, cabinet matching, calibration, power stability, and complete-screen testing all contribute to the final visual result.
Whether the screen is used for corporate events, exhibitions, conference rooms, or commercial installations, proper preparation helps reduce unexpected problems during operation.
We focus on practical display solutions, customized cabinet configurations, and quality inspection to support different project requirements.
Visit AILED Display to explore our COB LED display solutions and discuss your next project.
 Hot News
2026-11-10
2026-11-09
2026-11-07
Copyright © 2025 by Shenzhen Ai Display Technology Co., Ltd - Privacy policy
 EN