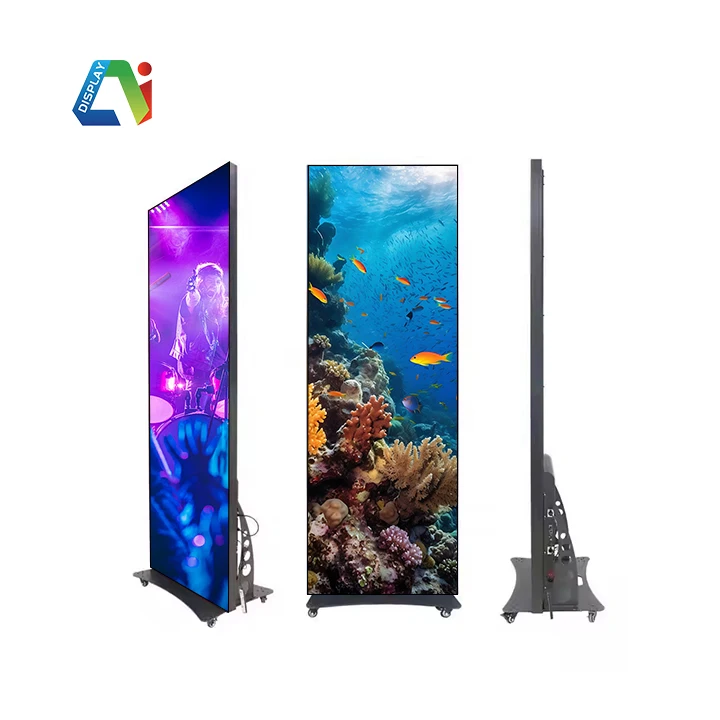
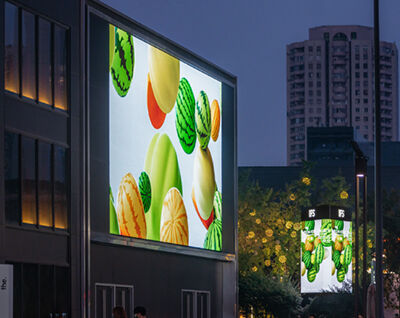
All Categories
square led screen setup guide how to avoid stretching scaling issues and resolution mismatch-0

News

Home >  News

Square LED Screen Setup Guide: How to Avoid Stretching, Scaling Issues, and Resolution Mismatch

Apr 23, 2026

Square LED screens look striking and modern. However, they also introduce one of the most common technical challenges in LED projects:
resolution mismatch between standard video outputs and non-standard LED dimensions

If you set up a square LED display (e.g., 512×512, 768×768, 1024×1024) without the right approach, your content will almost always appear stretched, squished, or misaligned.

In this guide, you’ll learn how to configure a square LED screen correctly, step by step. More importantly, you’ll understand the underlying logic so you can avoid costly mistakes in future projects.

Why Square LED Screens Cause Problems

Most video systems follow standard aspect ratios, such as:

  • 16:9 (1920×1080, 3840×2160)
  • 4:3 (1024×768)

However, square LED displays use 1:1 aspect ratios, which creates an immediate conflict.

What happens if you ignore this?

  • The system forces scaling
  • Content becomes distorted
  • Circles turn into ovals
  • Text looks compressed

The issue does not come from the LED panels. Instead, it comes from signal formatting and resolution handling.

Core Principle: Use a Standard Canvas, Then Map It

Before diving into setup steps, lock in this concept:

Never force your computer to output a square resolution. Instead, use a standard resolution and map your LED area inside it.

This approach solves 90% of problems instantly.

Step-by-Step Square LED Screen Setup

Step 1: Confirm Your Actual LED Resolution

Start by calculating your total pixel resolution.

Example:

  • Panel resolution: 128 × 128
  • Layout: 4 × 4 panels

Final resolution = 512 × 512

Always verify this in your LED control software (e.g., NovaLCT, Colorlight).

Step 2: Set a Standard Input Resolution

Next, configure your video source (PC, media player, or processor):

Use a standard resolution such as:

  • 1920×1080 (recommended)
  • 1280×720 (for smaller systems)

Why this works:

  • Ensures compatibility with all devices
  • Prevents signal rejection or scaling errors

Step 3: Define the Active Display Area

Now, map your square LED area inside the larger canvas.

Example:

  • Input resolution: 1920×1080
  • LED resolution: 512×512

You can place the LED area:

  • Top-left corner
  • Centered
  • Any custom position

Only that 512×512 region will display content.

Step 4: Adjust LED Controller Mapping

Use your LED controller software to:

  • Set receiving card resolution
  • Define display window position
  • Disable unwanted scaling

This step ensures:

  • Pixel-perfect alignment
  • No stretching or distortion

Step 5: Design Content at Native Resolution

Now that mapping is correct, create your content properly.

Always design at:

  • Exact LED resolution (e.g., 512×512)

Then:

  • Place it into your playback system
  • Align it with the mapped area

Tools you can use:

  • Adobe After Effects
  • Premiere Pro
  • Resolume
  • Even PowerPoint (for simple layouts)

Square LED Screen Setup Guide.jpg

Common Mistakes (and How to Avoid Them)

Mistake 1: Forcing Custom Output Resolution

Many users try to set their GPU to 512×512.

Problem:

  • Most systems don’t support it
  • Results in unstable or scaled output

Fix:

  • Always use standard resolutions (e.g., 1080p)

Mistake 2: Letting the System Auto-Scale

Auto-scaling seems convenient—but it causes distortion.

Fix:

  • Disable scaling
  • Use manual mapping instead

Mistake 3: Designing Content at the Wrong Aspect Ratio

If you design in 16:9 and display in 1:1:

 You will get stretching or cropping

Fix:

  • Always match content resolution to LED resolution

Mistake 4: Ignoring Pixel Mapping

Even with correct resolution, poor mapping leads to:

  • Misalignment
  • Cropped edges
  • Black borders

Fix:

  • Double-check mapping in your controller software

Advanced Setup Options

If you want more flexibility, consider these tools:

Media Servers (Best for Creative Displays)

  • Resolume
  • TouchDesigner
  • Millumin

Benefits:

  • Real-time mapping
  • Dynamic layouts
  • Multi-zone control

Video Processors / Scalers

These devices allow you to:

  • Crop input signals
  • Resize content precisely
  • Output custom regions

Ideal for:

  • Permanent installations
  • High-reliability environments

Digital Signage Players

Some players support:

  • Custom layouts
  • Multi-zone content
  • Scheduled playback

Great for:

  • Retail
  • Advertising
  • Information displays

Pro Tips for Better Visual Results

Keep content centered (when possible)

This avoids alignment errors and simplifies setup.

Use safe margins

Leave 5–10% padding to prevent edge clipping.

Test with grids

Display a grid pattern to verify pixel accuracy.

Optimize brightness and contrast

Square screens often sit in creative environments—fine-tuning improves impact.

Conclusion

Setting up a square LED screen is not complicated—but it requires the right mindset.

Instead of fighting the system, you should:

  • Use a standard input resolution
  • Map your LED area precisely
  • Design content at native resolution

When you follow this workflow, you eliminate distortion, improve clarity, and create a professional visual experience.

In the end, success doesn’t come from expensive hardware. It comes from correct signal flow and smart content formatting.

Email Email WeChat WeChat
WeChat
WhatsApp WhatsApp
Newsletter
Please Leave A Message With Us